
I found this beautiful Bird's Eye (Naomi Ito, Nani Iro) fabric at NIDO, a sweet fabric and yarn shop on the second floor at 209 College Street in Burlington, VT. I bought half a yard with sewing a scarf in mind. (Phiona, the lovely shopkeeper, recommended pre-washing and drying the fabric, as it tends to shrink a bit.)

Once out of the dryer, I pressed it carefully and trimmed both of the long edges, making sure I was left with a perfect rectangle. Then I folded the fabric in half the long way, right sides together and pinned and stitched them with a quarter of an inch seam allowance. I turned the piece inside out, and ended up with a long tube, with both short ends open.

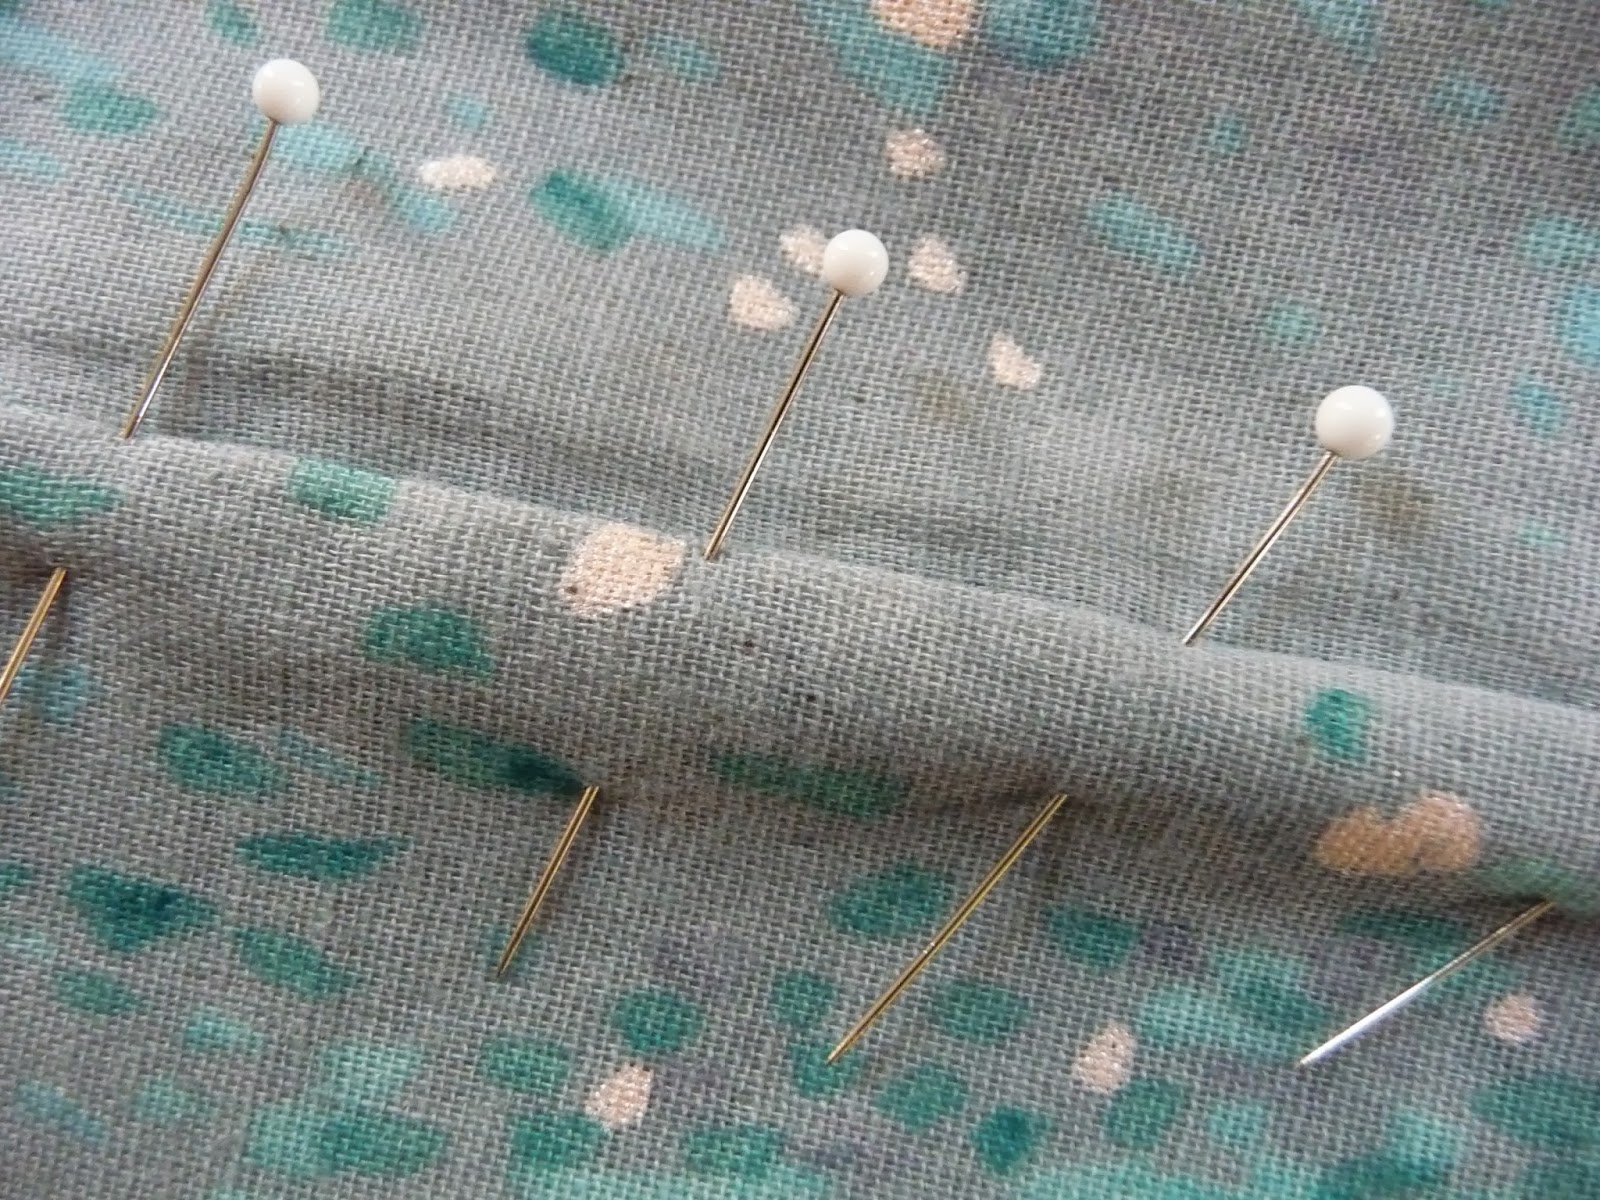
I laid the tube out flat on the ironing board and took the right side end in my hand and gently flipped it over, creating the long fold you see here in this picture.

Taking the right side end of the tube in my right hand again, I folded it over in half at the middle and matched the two short ends together. (The two short, raw ends are now matched together on the left, and the fold is on the right).

Here's where the fussy part begins...I pinned the two short ends together, right sides together, as far as I could. Pinning "in the round" takes patience, and at some point, you just have to stop, in order to leave a place to remove the pins and stitch the last little bit closed by hand.

By stitching this seam slowly you may take the time to be sure you are not catching other bits of the scarf into the seam. Keep the pinned seam under your presser foot, and use your left hand to guide the other fabric that may be trying to bunch up away from the presser foot.

Once you have sewn as far as you dare/can, spread the scarf out on a flat surface and turn the remaining seam allowance (the "gap" in the photo above) under and pin it closed.
Be careful not to pin the seam all the way through both layers of the scarf. You are simply pinning the "gap" closed, leaving the part you stitched by machine free. This step requires some patience as well.

Being careful not to pick up fabric from the other side of the scarf, use a small hand stitch to close up the two sides of the remaining gap that you have pinned.

I decided early on not to trim the selvedges from the fabric, so that I would end up with a "do-it-yourself" designer logo at the seam.

This is not the greatest photo, but here's the scarf, ready to wear. Now I am thinking of gift making possibilities...
Read about the science behind a Mobius band here. I love the idea of a surface with no end...
Infinity...


Beautiful scarf, fabric, tutorial!
ReplyDeleteThanks for sharing. I always get encouraged and inspired by your words,
Cheers,
Jeanneke.
Thank you, Karen, for this tutorial! I have been wanting to make a scarf like this and I love your fabric choice!
ReplyDeleteHope all is well with you. xo
Cough*christmas*cough
ReplyDelete