Reader Vicki had asked about how I sewed the paper cover onto our "
staying home" book. I'm happy to walk you all through this very easy project.
Things you will need...
- a soft covered notebook
- decorative paper to fit the front cover (may be a full sheet or collaged to fit!)
- pencil
- scissors
- glue stick
- something to smooth the glued paper onto the notebook cover
- sewing machine with a universal needle and thread to either match or contrast with paper, depending on the look you want.
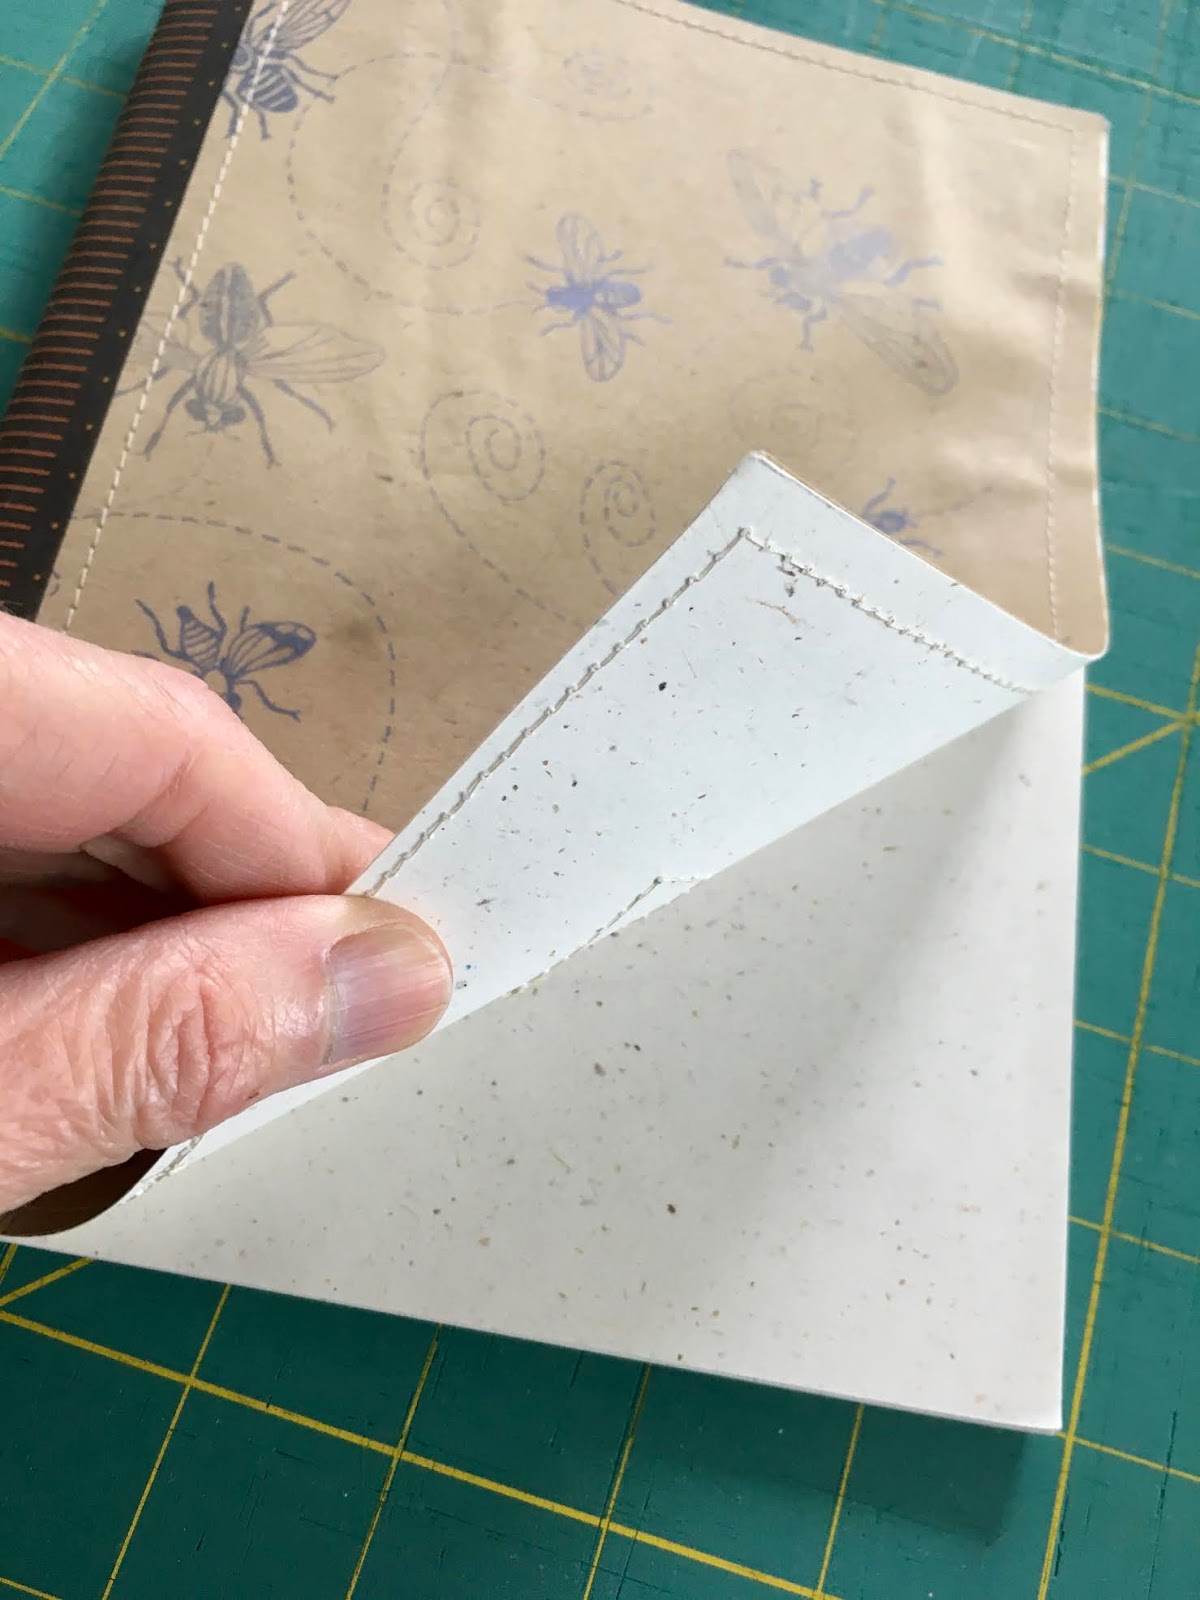
This photo is to show you how soft and pliable the cover is on the notebook I used. This blank book was gifted to me by one of my college roomies. She lived in Costa Rica for many years and this book was made in part, of banana fronds!
Line the notebook cover up with the corner of your decorative paper (wrong side up) and trace around the other two sides.
This will save you a bit of work...now you have just two sides to cut vs. all four edges.
Add a few dabs of glue to the corners and center of your paper, on the
wrong side of the paper. Carefully place the glued side of your paper onto the front of your notebook, matching edges as you go. Don't sweat it. Perfection is just an
option.
Use the smoothing tool to press the paper lightly to the notebook. This will help keep the paper from slipping around while you sew it down. Let the glue dry.
Lengthen the stitch on your machine. Using a small stitch may actually create a perforation, which you
don't want. If you have a "needle down" option on your machine, turn it on. Start sewing at the bottom, middle of the notebook edge. I sewed about an eighth of an inch from the edge.
When you get to the first corner, lift your presser foot and swivel the notebook under the presser foot, lining up your stitch line with the next edge. Put your presser foot back down and continue to stitch around the edges and corners of the notebook in the same manner. When you get to it, you may want to sew a bit further away from the binding of the notebook, to allow for the bulk of the pages there.
Once you have sewn all around the edge of the notebook, take a few more stitches to overlap for tying off. Turn off your "needle down" setting, take a stitch to release the needle from the down position, lift the presser foot and pull the edge of the notebook away from your machine. Cut the threads, leaving longish tails.
Turn your notebook over to the wrong side, pull all of your threads through to the back.
Tie the loose threads carefully and trim them with scissors.
Presto. Easy peasy. You've got yourself a sweet little "
staying home" book.
I hope you will find your version of a "staying home" book to be a comfort in these odd times. Keeping track of whatever is meaningful to you may become a bit of a mediation for you. As the days change, so can your writing. Not meant to be an obligation or chore, these little books can document anything you want.
Stay safe. Stay well. Send me any questions you may have in the comments here or send me an email.
xo


Thank you!! Thank you!! I can't wait to get out and purchase one of the notebooks and try this. I appreciate all the work you did to put this tutorial together for me.
ReplyDelete